Take a peek inside your closet drawers. Chances are, there’s a pile of old t-shirts hiding in there—souvenirs from past concerts, freebies from long-forgotten events, or beloved favorites that are now a bit too faded or stretched out to wear. Before you toss them into a donation bin or, worse, the trash, what if you could give them a brilliant second life?
Get ready to unlock a world of creative possibilities! Repurposing old t-shirts is a fantastic way to reduce textile waste, save money, and create unique, custom items for yourself and your home. Let’s dive into ten genius ways to transform those old tees from clutter into something amazing!
Why Repurpose Your T-Shirts?
Every year, millions of tons of clothing end up in landfills. By choosing to upcycle, you’re making a positive impact on the planet. T-shirt fabric is soft, durable, and easy to work with, making it the perfect material for countless DIY projects. It’s an empowering way to get creative, learn new skills, and breathe new life into items you once loved.
Your No-Sew & Simple-Sew Projects
Ready to get started? We’ve gathered ten fantastic ideas, ranging from super-simple, no-sew projects to beginner-friendly sewing crafts.
The No-Sew T-Shirt Tote Bag
This is the classic t-shirt upcycling project for a reason—it’s incredibly easy, surprisingly sturdy, and you can make one in under 10 minutes!
How to do it:
- Prep Your Tee: Lay your t-shirt flat. Cut off the sleeves along the seams. Then, cut off the entire collar to create a wide opening for your bag.
- Cut the Fringe: Decide how deep you want your bag to be. Using scissors, cut vertical strips about 1-2 inches wide and 3-4 inches long along the bottom hem of the shirt. Make sure to cut through both the front and back layers at the same time.
- Tie the Knots: Now, take the front and back strips that line up with each other and tie them together in a double knot. Work your way across the entire bottom of the shirt, knotting each pair of strips securely. This creates the strong bottom seam of your bag.
- Finish Up: Turn the bag inside out to hide the knots for a cleaner look, or leave them on the outside for a fringed, bohemian vibe. That’s it! You have a new, washable, and eco-friendly tote.
Super-Absorbent Cleaning Rags
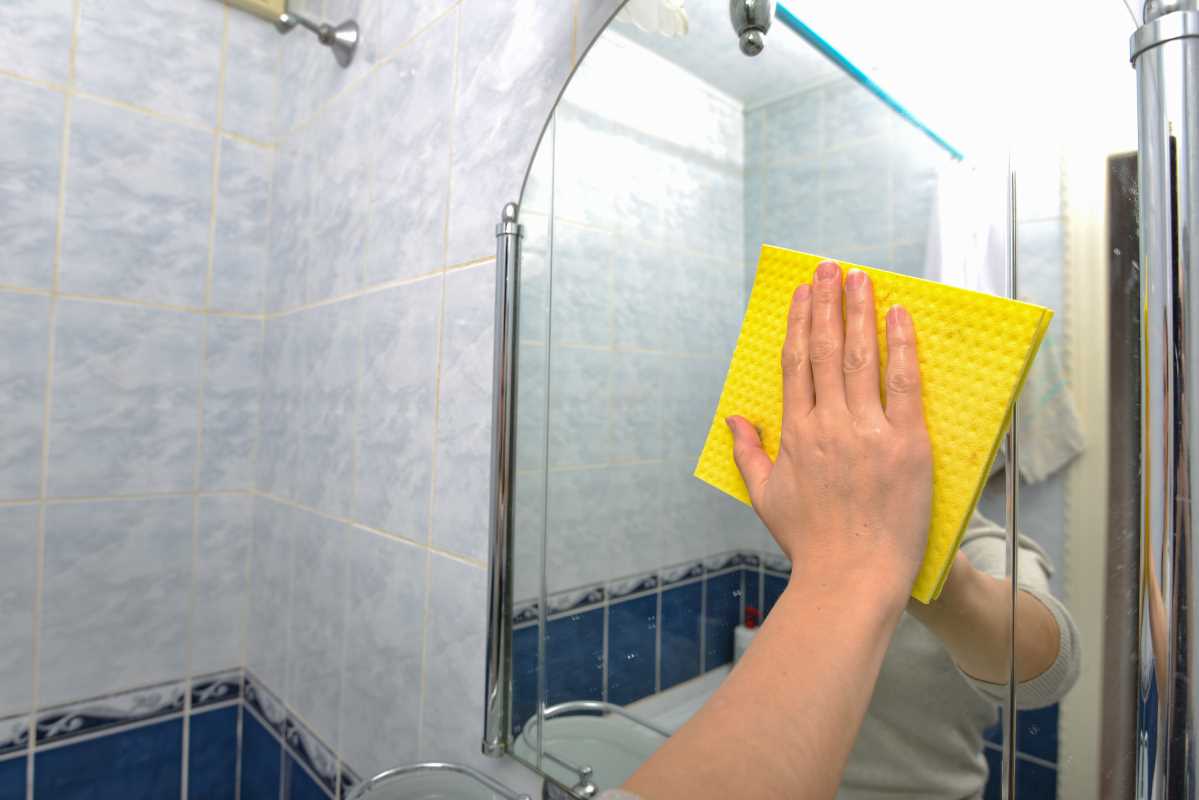
Stop spending money on paper towels! Old cotton t-shirts make the absolute best cleaning rags—they’re absorbent, lint-free, and completely washable.
How to do it:
- Cut It Up: Lay your t-shirt flat and cut it into squares or rectangles of various sizes. Don't worry about perfect edges.
- Sort by Size: Create a stack of smaller pieces for tasks like wiping counters and a stack of larger ones for bigger spills or floor cleaning.
- Store and Use: Keep your new collection of rags in a basket under the sink for easy access. After use, toss them in the washing machine.
Braided T-Shirt Headband
Create a cute, stretchy headband that’s perfect for workouts, gardening, or keeping your hair back in style.
How to do it:
- Cut Your Strips: Cut three 2-inch wide strips from the body of your t-shirt, from one side seam to the other, creating three fabric loops.
- Braid the Fabric: Hold two of the loops in one hand. Loop the third strip over them. Begin a standard three-strand braid, keeping the fabric flat and not twisted.
- Size and Secure: Braid until the length fits snugly around your head. Trim the excess fabric, leaving about an inch at the end. Secure the ends by sewing them together or by tying them tightly with a small scrap of t-shirt fabric.
Colorful Braided Rug or Trivet
This project takes time but delivers a stunning, cozy result. You can create anything from a small pot holder to a large area rug.
How to do it:
- Make T-Shirt Yarn: Cut your t-shirts into one continuous strip of "yarn." Start by cutting a 1-inch wide strip from the bottom hem, stopping about an inch from the side seam. Continue cutting in a spiral pattern all the way up the shirt. Gently pull the yarn to make the edges curl in.
- Braid the Yarn: Take three strands of your t-shirt yarn and braid them together, adding in new strands as you go by sewing or tying them. Continue until you have a very, very long braid.
- Coil and Sew: Begin coiling the braid tightly in a spiral. As you coil, use a heavy-duty needle and thread to sew the coils together. Continue coiling and sewing until your rug reaches the desired size.
Reusable "Unpaper" Towels
For a more polished alternative to simple rags, create a set of reusable towels that can even snap together on a roll.
How to do it:
- Cut Your Squares: Cut two 10x10-inch squares from an old t-shirt.
- Sew Together: Place the squares on top of each other and sew around the edges, leaving a small 2-inch gap for turning.
- Finish the Edges: Turn the square right-side out through the gap. Press it flat with an iron and topstitch around the entire edge, which will also close the gap.
- Add Snaps (Optional): To create a roll, add plastic snaps to the corners of each square so they can be snapped together and rolled onto a paper towel holder.
DIY T-Shirt Dog Toy
Your furry friend will love this durable, chewy toy, and you’ll love that it’s free and machine-washable.
How to do it:
- Cut the Strips: Cut two long, 3-inch wide strips from the body of a t-shirt.
- The Knotting Technique: Lay the strips in a plus-sign shape. Fold the top strip down and the bottom strip up. Then, fold the left strip over and tuck the right strip over and through the loop created by the left strip. Pull all four ends tightly to create a sturdy box knot.
- Repeat: Continue this knotting pattern until you reach the desired length for your toy. Tie off the ends securely.
Comfy T-Shirt Pillowcase
The soft, worn-in feel of an old t-shirt is perfect for a cozy, no-fuss pillow or a decorative pillow cover.
How to do it:
- Pick Your Tee: A t-shirt with a cool graphic works great for this. Turn the shirt inside out.
- Pin and Sew: Lay the shirt flat. Place your pillow form on top to measure. Pin along the sides and top where you need to sew. Remove the pillow and sew the side and top seams closed, leaving the bottom open.
- Finish: Trim the excess fabric, turn the cover right-side out, and stuff your pillow inside. You can either sew the bottom shut or use the no-sew fringe method from the tote bag project for a decorative closure.
Handy Produce Bags
These lightweight, stretchy bags are perfect for trips to the farmer's market or grocery store.
How to do it:
- Follow Tote Bag Steps: Start by making the No-Sew T-Shirt Tote Bag (Idea #1).
- Add the Mesh: Lay the bag flat. Using sharp scissors or a rotary cutter, cut small horizontal slits all over the body of the bag, leaving space between each cut. When you stretch the bag, the slits will open up, creating a mesh-like fabric that's perfect for produce.
A Cozy T-Shirt Quilt
This is the ultimate way to preserve memories from a collection of meaningful t-shirts, like those from sports teams, college clubs, or family vacations.
How to do it:
- Prep Your Shirts: Cut out the graphic part of each t-shirt into a uniform square (e.g., 12x12 inches). To prevent stretching, iron on a layer of fusible interfacing to the back of each square.
- Arrange Your Design: Lay out your squares on the floor to create a design you love.
- Sew the Rows: Sew the squares together to form rows. Then, sew the rows together to form the quilt top.
- Finish the Quilt: Layer the quilt top with batting and a backing fabric (like fleece or flannel). Quilt as desired and bind the edges to finish it off.
Simple Plant Hangers
Create a bohemian-style hanger for your small indoor plants with a few strips of fabric.
How to do it:
- Cut Strips: Cut eight 2-inch wide and 3-foot long strips from your t-shirts.
- Gather and Tie: Gather all eight strips together and tie a large knot at one end, leaving a few inches of fringe at the bottom.
- Create Sections: Separate the strips into four groups of two. About two inches up from the main knot, tie a knot in each of the four pairs.
- Form the Basket: Now, create the next row of knots. Take one strip from one pair and one strip from an adjacent pair and tie them together about two inches above the first row of knots. Repeat this all the way around to create a net pattern.
- Finish: Place your pot inside the netting to check the fit. Gather all eight strips at the top and tie one large final knot to hang it from.
 (Image via


