 (Image via
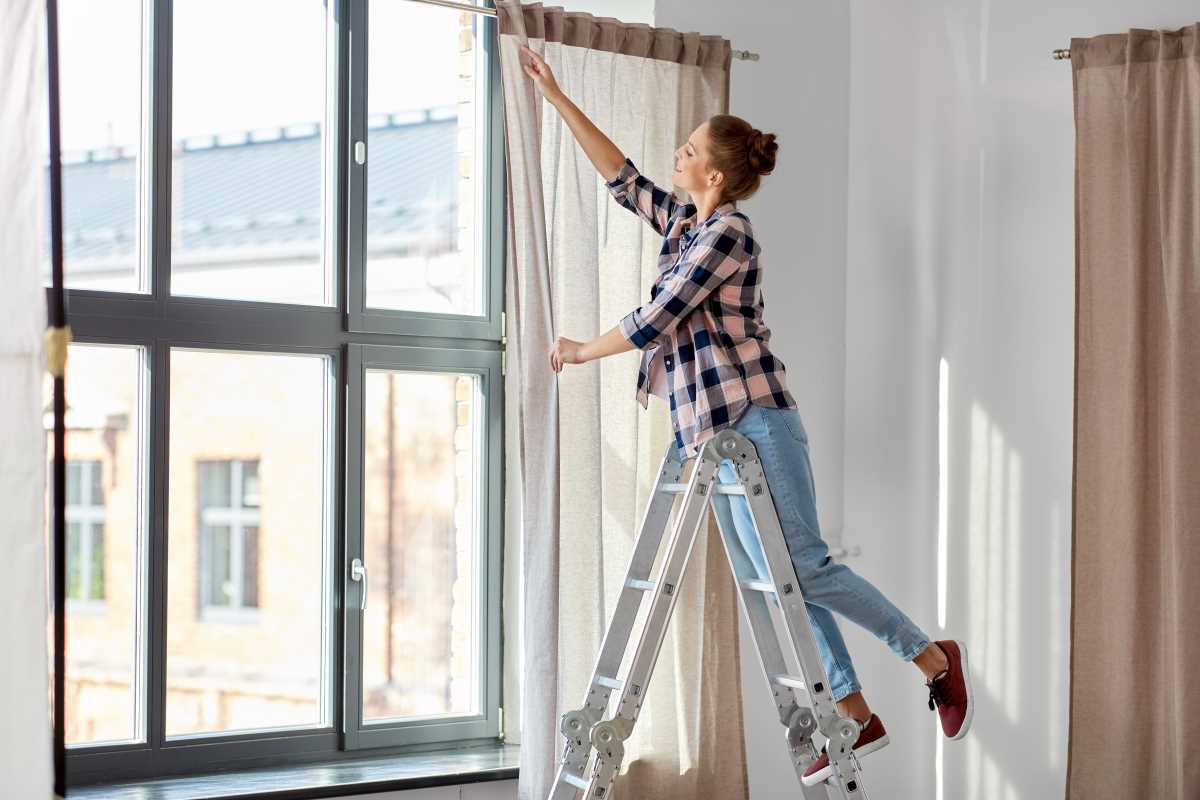
Window treatments are a game-changer for any room. The right curtains can add color, texture, and a sense of completeness, transforming a simple space into a styled sanctuary. But hanging them? That can feel a little intimidating. Crooked rods and uneven hems can quickly turn a design dream into a DIY disaster.
Don’t worry! We are here to demystify the process. With the right tools and a clear plan, you can hang curtains perfectly straight on your first try. Get ready to elevate your space with window treatments that look professionally installed. Discover the simple steps and pro tips to make it happen!
Why Proper Curtain Placement Matters
Before we grab the drill, let's talk about why getting this right is so important. Correctly hung curtains do more than look neat; they can actually make your room feel bigger and brighter.
- Creates an Illusion of Height: Hanging the rod higher than the window frame draws the eye upward, making ceilings appear taller.
- Widens the Room: Extending the curtain rod beyond the sides of the window frame makes the window seem wider and allows more natural light to enter when the curtains are open.
- Adds a Polished Finish: Perfectly level curtains provide a clean, high-end look that ties the entire room together.
Step 1: Gather Your Tools and Supplies
Having everything you need on hand before you start makes the process smooth and frustration-free. It’s time to assemble your curtain-hanging toolkit!
- Tape Measure: Your most important tool for accuracy.
- Pencil: For marking your measurements.
- Level: A 24-inch level is ideal for ensuring your rod is perfectly horizontal. You can also use a laser level for ultimate precision.
- Drill and Drill Bits: Choose a bit size that corresponds to your screws and wall anchors.
- Curtain Rod and Brackets: The hardware that will support your curtains.
- Wall Anchors: Absolutely essential if you are not drilling into a wall stud. They prevent the screws from pulling out of drywall.
- Stepladder or Stool: For safely reaching the installation area.
- Curtains: Of course! Make sure they are ironed or steamed before you start.
Step 2: Measure with Precision
Accurate measurements are the foundation of a perfect curtain installation. This is where you decide on placement to maximize the style of your window. Remember the golden rule: measure twice, drill once.
Determine Rod Height
The standard advice is to mount your curtain rod 4 to 6 inches above the top of the window frame. This simple trick instantly makes your ceiling feel higher.
- Action: Measure 4-6 inches up from the top corner of your window trim and make a small, light pencil mark. Do this on both the left and right sides.
Determine Rod Width
To make your window appear larger and let in maximum light, extend the rod 3 to 6 inches beyond the window frame on each side. For very large windows, you can go even wider, up to 10-12 inches.
- Action: From the marks you made for the height, measure horizontally 3-6 inches out from the side of the window frame. Make a new mark here. This is where your bracket will go. Repeat on the other side.
Step 3: Install the Brackets
With your marks in place, you’re ready to install the support system for your curtains.
- Check for Studs: Use a stud finder to see if your bracket marks align with a wall stud. If they do, you can drill directly into the wood. If not, you’ll need wall anchors.
- Mark the Screw Holes: Hold a bracket up to your final pencil mark. Use your pencil to mark where the screws will go.
- Drill Pilot Holes: If you are using wall anchors, drill a hole for the anchor and gently tap it into place until it's flush with the wall. If you’re drilling into a stud, drill a pilot hole that's slightly smaller than your screw.
- Attach the First Bracket: Line the bracket up with your pilot hole(s) and secure it with screws. Don't tighten them all the way yet.
- Level and Attach the Second Bracket: Place your level across from the top of the first bracket to your mark on the other side of the window. Adjust the position of the second bracket until the bubble on the level is perfectly centered. Mark your screw holes for the second bracket, drill, and attach it.
- Install a Center Support Bracket: If your rod is longer than 60 inches, you need a center support bracket to prevent it from sagging. Find the midpoint between the two end brackets and install the third bracket there.
Step 4: Hang Your Curtains
The moment you’ve been waiting for! It's time to dress your window.
- Prep Your Curtains: If you haven't already, iron or steam your curtains to remove any wrinkles from packaging.
- Thread the Curtains onto the Rod: Carefully slide your curtain panels onto the rod. Make sure they are facing the correct direction.
- Place the Rod: Lift the rod and place it into the brackets.
- Tighten and Adjust: Secure the rod in the brackets according to the manufacturer's instructions. Step back and check your work. Adjust the curtain panels so they are evenly distributed.
Common Mistakes and How to Avoid Them
Even with the best intentions, a few common slip-ups can occur. Here’s how to sidestep them for a flawless finish.
- Mistake: Curtains Are Too Short ("Highwaters"). Curtains should either barely skim the floor, puddle slightly on it, or hit the bottom of the window sill. Anything in between can look awkward.
- Solution: Always measure from where the rod will be placed down to the floor before buying curtains.
- Mistake: A Sagging Curtain Rod. This happens when a rod is too long for its diameter or lacks a center support.
- Solution: For windows wider than 60 inches, always use a rod that comes with a center support bracket.
- Mistake: Forgetting Wall Anchors. Screws drilled directly into drywall can't support the weight of a rod and curtains, and they will eventually pull out.
- Solution: Unless you are drilling into a wooden stud, always use wall anchors appropriate for the weight they will hold.
You've done it! By following these steps, you can confidently hang curtains that not only look fantastic but also enhance the architecture of your room. Enjoy the new view!