 (Image via
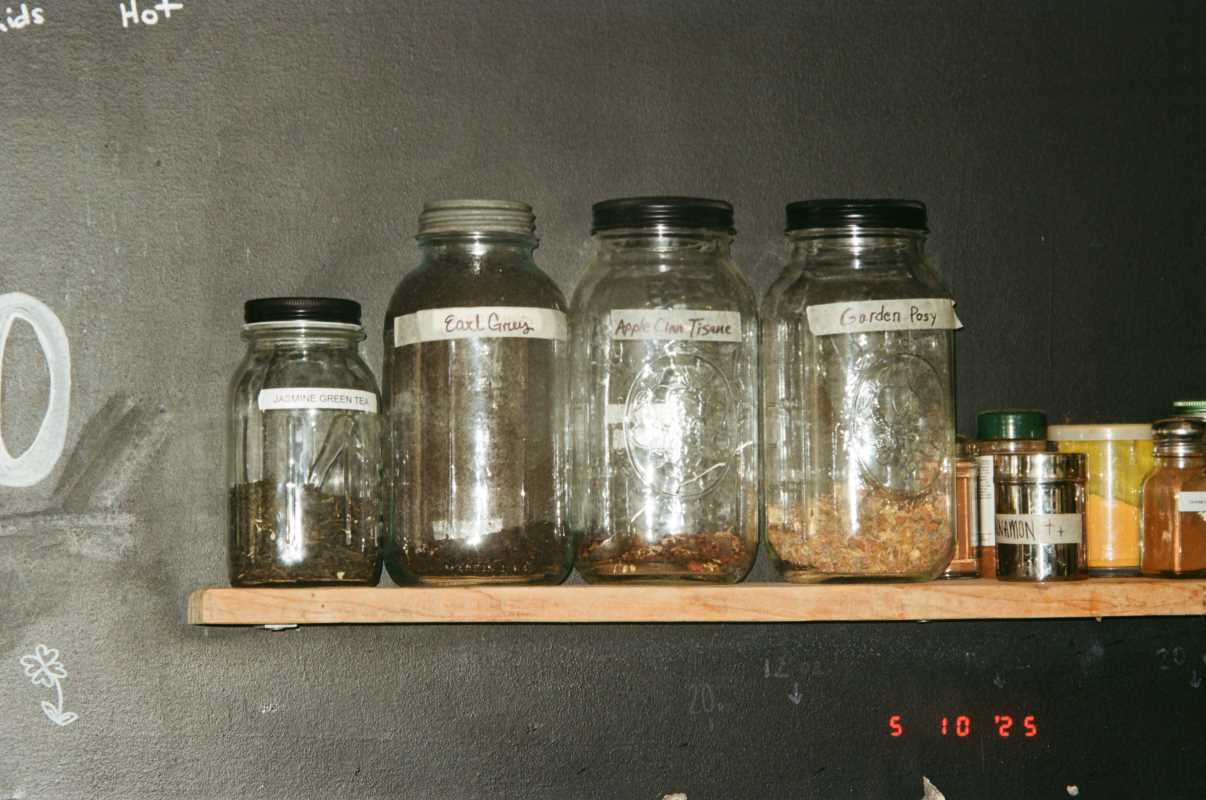
Glass jars are perfect for upcycling into everything from pantry storage to chic home décor. There’s just one sticky problem: that stubborn label and the gummy residue it leaves behind. Peeling, scratching, and scrubbing can feel like a losing battle. But what if you could get those jars sparkling clean with minimal effort?
It’s time to unlock the secrets to effortless label removal! We've gathered the most effective, expert-tested methods to help you remove any sticker or adhesive from glass—plus a few bonus ideas for upcycling. Discover simple, step-by-step techniques that use common household items to achieve a flawless, residue-free finish. Let's get those jars ready for their second life!
Method 1: The Classic Hot Water Soak
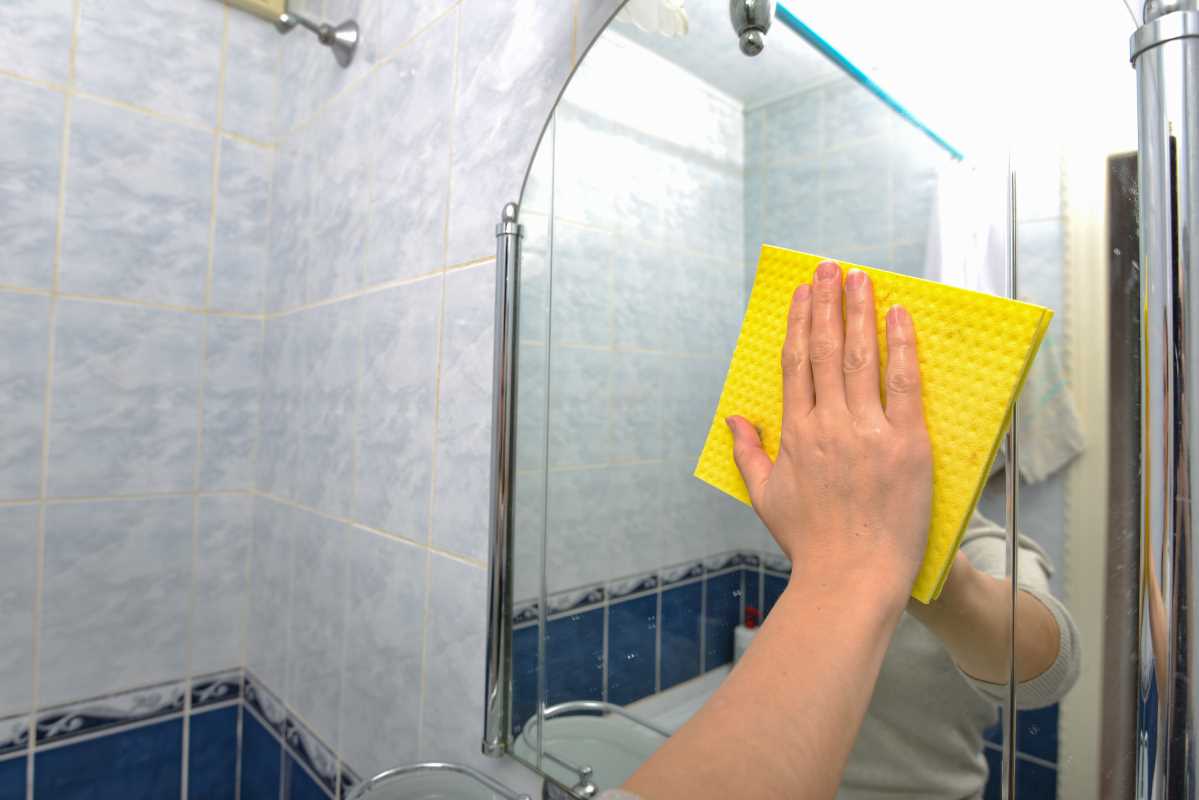
This is the go-to first step for most paper-based labels. Hot, soapy water works by penetrating the paper and weakening the adhesive underneath. It’s simple, effective, and uses items you already have.
Best for: Standard paper labels (like those on pasta sauce or pickle jars).
Step-by-Step Instructions:
- Fill Your Sink: Fill a sink or large basin with the hottest water your tap can produce. Add a generous squirt of dish soap and swish it around to create suds.
- Submerge the Jars: Place your glass jars into the water, making sure they are completely submerged. If the jars are buoyant, fill them with water to weigh them down.
- Let Them Soak: Leave the jars to soak for at least 30 minutes. For extra-stubborn labels, an hour or even overnight may be necessary. The paper should start to lift and bubble on its own.
- Peel and Scrub: After soaking, the label should peel off easily. Use your fingernails or a plastic scraper to lift a corner and pull. If any residue remains, a quick scrub with a sponge or steel wool should remove it.
Why It Works: Heat softens the glue, while the soap helps to break down its sticky properties. The water seeps behind the paper, dissolving the adhesive and releasing its grip on the glass.
Method 2: The Oil and Baking Soda Power Paste
When a simple soak isn't enough to tackle that sticky, gummy residue, it’s time to bring out the big guns: a paste made from oil and baking soda. This combination is a miracle worker on stubborn adhesives.
Best for: Removing the tough, sticky adhesive left behind after the paper label is gone.
Step-by-Step Instructions:
- Create the Paste: In a small bowl, mix equal parts baking soda and a cooking oil of your choice (coconut oil, olive oil, or vegetable oil all work well). Stir them together until you have a thick, gritty paste.
- Apply the Paste: Smear the paste generously over the entire area of remaining adhesive on your jar. Make sure every sticky spot is covered.
- Let It Sit: Allow the paste to sit on the jar for 15 to 30 minutes. This gives the oil time to break down the adhesive.
- Scrub and Wipe: Using a scouring pad, steel wool, or even just your fingers, scrub the area in a circular motion. The baking soda acts as a gentle abrasive, lifting the softened glue right off.
- Wash and Dry: Once the residue is gone, wash the jar with warm, soapy water to remove any oily film. Dry it off, and your jar will be perfectly clean.
Why It Works: The oil saturates and dissolves the chemical bonds in the adhesive, breaking down its stickiness. The baking soda provides the perfect amount of gentle friction to scrub away the softened gunk without scratching the glass.
Method 3: The Heat Gun or Hair Dryer Hack
For plastic or vinyl labels that are resistant to water, heat is your best friend. Applying direct heat softens the adhesive, allowing you to peel the label off cleanly in one piece.
Best for: Plastic, foil, or vinyl labels that don’t dissolve in water (like those on some wine bottles or specialty products).
Step-by-Step Instructions:
- Safety First: Ensure your jar is empty, clean, and completely dry before you begin.
- Apply Heat: Using a hair dryer on its highest setting or a heat gun on a low setting, aim the hot air at the label. Hold the dryer about two inches from the surface.
- Heat Evenly: Move the heat source slowly back and forth across the entire label for about 30 to 60 seconds. Pay special attention to the corners and edges. You will see the label start to wrinkle or lift slightly.
- Peel Slowly: Turn off the heat and carefully try to lift a corner of the label with your fingernail or a craft knife. If it lifts easily, pull the label back slowly and steadily. The heat should have softened the glue enough for it to come off in one piece.
- Reheat if Necessary: If you feel resistance or the label starts to tear, stop pulling and apply more heat to that section before continuing.
- Remove Any Residue: If a little bit of adhesive is left behind, you can usually wipe it away with a cloth dipped in oil or rubbing alcohol.
Why It Works: Heat directly targets the adhesive, making it soft and pliable. This temporarily deactivates its bonding properties, allowing you to peel the label away cleanly before the glue cools and hardens again.