 (Image via
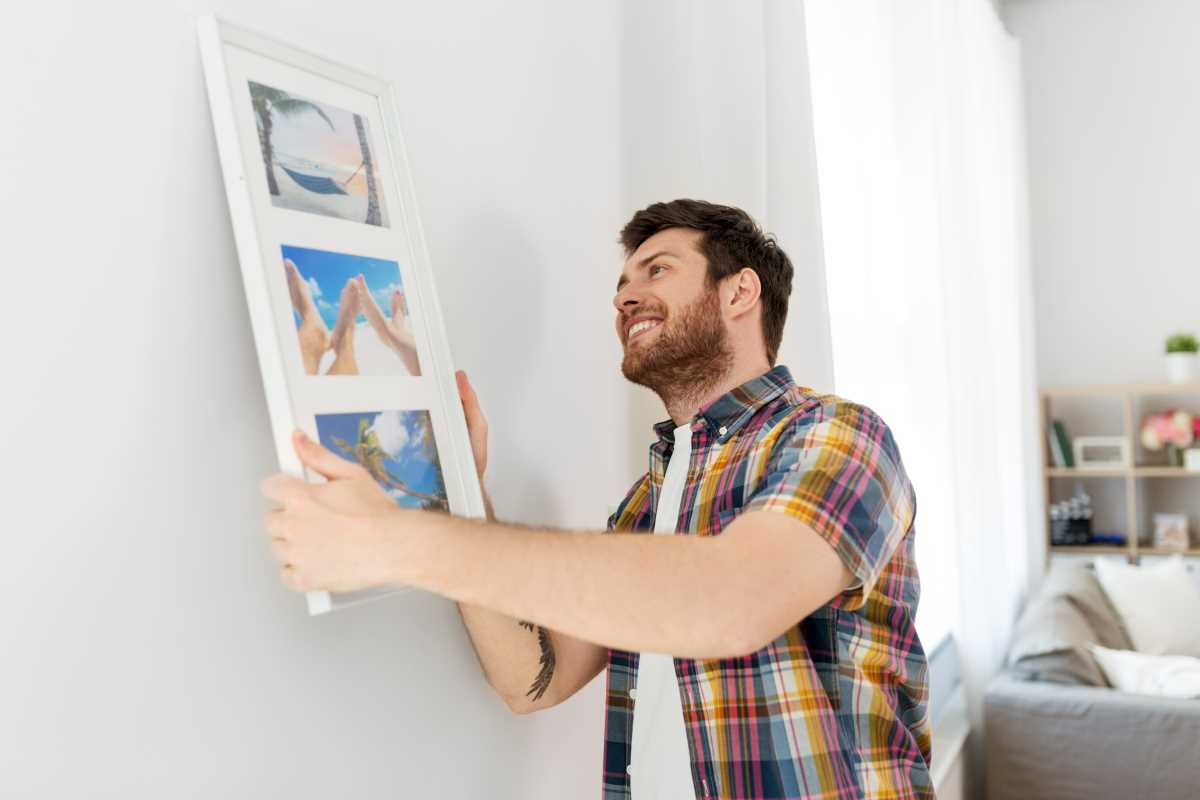
You’ve spent hours choosing the perfect photos, finding beautiful frames, and deciding on the ideal spot. You grab a hammer and a nail, make your best guess, and step back to admire your work, only to see it. The frame is crooked. No matter how many times you nudge it, that slight, infuriating tilt remains, disrupting the harmony of your entire wall. Perfectly aligned picture frames can transform a room from chaotic to curated, but achieving that flawless look often feels like an impossible task.
But what if there was a secret to getting it right every single time? Get ready to say goodbye to wonky wall art! We’ll walk you through the essential tools, a step-by-step process, and pro tips for designing stunning gallery walls. Your walls are a canvas for your memories and style, and it’s time to display them with the perfection they deserve.
The Tools You'll Need for Picture-Perfect Walls
Achieving a professional-looking result starts with having the right tools on hand. You don’t need a massive toolbox, but a few key items that will make the process smooth, accurate, and surprisingly simple.
Here’s your checklist for success:
- A Tape Measure: This is non-negotiable for accurate spacing and placement. A retractable metal tape measure will give you the most precise readings.
- A Level: Whether it’s a traditional bubble level or a laser level, this tool is your best friend for ensuring every frame is perfectly horizontal.
- Painter's Tape: This versatile tape is the star of the show. It’s gentle on your walls, easy to reposition, and an amazing guide for marking nail spots without leaving a trace.
- A Pencil: For making light marks that can be easily erased.
- Picture Hanging Hardware: This includes nails, screws, or picture hooks, depending on the weight of your frames and the type of your walls (drywall, plaster, or brick).
- A Hammer: For tapping in nails and hooks securely.
- Your Picture Frames: Have all your frames ready to go before you begin.
Your Step-by-Step Guide to Perfect Alignment
With your tools gathered, you're ready to hang your frames like a pro. This method focuses on using painter's tape to transfer measurements directly from your frame to the wall, eliminating guesswork entirely.
Step 1: Prepare Your Frame
Turn your picture frame over so the back is facing up. If your frame has one central hanger, you’re in luck! If it has two hangers (often D-rings or a sawtooth hanger with multiple notches), this method is a game-changer. Tear off a piece of painter's tape that is slightly longer than the distance between the two hanging points. Stretch the tape across the back of the frame, sticking it directly over the hangers.
Step 2: Mark the Hanging Points
Using your pencil or a pen, press down on the tape directly over the center of each hanging point. You want to create a small but visible mark on the tape that indicates exactly where the nail or screw needs to go. For sawtooth hangers, mark the top center of the V-shaped notch you plan to use. For D-rings, mark the top-most point inside the ring.
Step 3: Position the Tape on the Wall
Carefully peel the painter's tape off the back of your frame. The marks you made now serve as a perfect template. Decide where you want your frame to hang on the wall. A great rule of thumb is to hang art so its center is at eye level, which is typically 57-60 inches from the floor.
Place the tape on the wall where you want the top of your frame to be. Now, grab your level. Place it on top of the tape and adjust until the bubble is perfectly centered. This guarantees your hanging points will be level, which means your frame will be too.
Step 4: Install the Hardware
With your tape perfectly level on the wall, it’s time to install the hardware. Take your nail or screw and hammer it directly through the marks you made on the tape. Drive the hardware into the wall, leaving it sticking out enough to hang your frame securely.
Step 5: Hang Your Frame and Remove the Tape
Once the hardware is in place, you can gently peel the painter's tape off the wall. It should come off cleanly without damaging the paint. Now, carefully hang your picture frame on the newly installed nails or screws. Step back and admire your perfectly straight, beautifully aligned frame!
Tips for Creating a Stunning Gallery Wall
A gallery wall is a fantastic way to display a collection of photos and art, but alignment is even more important when multiple frames are involved.
- Plan Your Layout on the Floor: Before you touch the wall, arrange your frames on the floor. Play with different configurations until you find a layout you love. This allows you to visualize the spacing and balance without making unnecessary holes in the wall. Take a photo of your final layout for reference.
- Use a Common Center Line: To create a cohesive look, even with different-sized frames, consider aligning them along a central horizontal or vertical line. This creates a sense of order and intention.
- Maintain Consistent Spacing: The key to a polished gallery wall is consistent spacing between frames. A gap of 2-3 inches is a great starting point. Use your tape measure to ensure the space between each frame is uniform.
- Start with the Largest Piece: Hang your largest or most central frame first. Use it as an anchor and build the rest of your gallery wall around it, working your way outwards.
Keeping Your Frames Straight for Good
Even perfectly hung frames can shift over time due to vibrations from doors closing or foot traffic. To prevent this, place a small piece of double-sided mounting tape or a dab of reusable putty on the bottom corners of the frame. This will help anchor it to the wall and keep it from moving.
Now that you know the secret, you have the power to create flawless, beautifully arranged walls that reflect your personality and style.